A believable interrogation scene is one where the power visibly shifts between two people: the suspect’s answers, silences and deflections change in response to specific pressure, and every line of dialogue carries subtext instead of exposition. Getting there is mostly preparation, not inspiration.
Most interrogation scenes fail for the same reason. One character talks, the other reacts, and forty lines later something is confessed. Nothing was traded, so nothing was won.
Below is a nine-step process I use, plus a before-and-after rewrite showing exactly what changes on the page. The whole thing takes an hour for a first draft and an hour of revision once the shape is right.
Table of Contents
- What You Need
- Step-by-Step
- Step 1: Define the Objective
- Step 2: Build a Believable Power Dynamic
- Step 3: Gather Procedural and Physical Detail
- Step 4: Give Each Character a Verbal Strategy
- Step 5: Control the Flow of Information
- Step 6: Escalate With Stakes and Contradictions
- Step 7: Write Dialogue With Subtext
- Step 8: Deliver a Strategic Reveal
- Step 9: Revise for Believability
- Common Mistakes
- Frequently Asked Questions
- Do I need to include rights and cautions to make an interrogation scene realistic?
- Can a suspect realistically confess in a written interrogation scene?
- Should I use silence in an interrogation scene?
- Can a detective lie to the suspect during an interrogation?
- How much legal procedure should I put in the scene?
- How do I escalate an interrogation without it turning into melodrama?
- Conclusion
What You Need

Before you write a line of dialogue, six things need to be settled. Skipping any one of them is why the scene stalls halfway down the page.
- The suspect’s goal. Not “get caught.” Protecting a sibling, buying time until an alibi holds, testing whether the detective already knows, or getting a message to someone before the next break.
- The interrogator’s objective. A confession, a location, a name, or simply proof that a theory is wrong. Each produces a different scene.
- What each character believes to be true. Two people with the same evidence can hold completely different accounts of what happened. That gap is your engine.
- The evidence in the room. Physical, digital, or testimonial. Whatever it is, it should be something the suspect can see.
- The setting. A municipal interview room with a one-way mirror is not the same as a detective’s office at two in the morning. Pick one and stay in it.
- The turn. Decide what the scene reveals before you start. A partial confession, an exposed lie, or the detective realising the wrong person is in the chair.
If item six is missing, you are not writing a scene. You are writing a conversation.
Step-by-Step
Step 1: Define the Objective
Write both objectives in a single sentence each before drafting. The detective may need a confession; the suspect may need to delay discovery until an alibi holds.
You know the step worked when the scene has a point where each objective becomes impossible. That is your last page.
Step 2: Build a Believable Power Dynamic
A believable interrogation scene has more than one source of pressure, and the sources rotate. Evidence, law, the clock, exhaustion, a relationship, or the suspect’s need to control the conversation.
Authority alone is weak. A detective who simply has the legal right to ask is not frightening to a suspect who has already decided what he will say.
Test each shift by asking whose information, control, or emotional stability is greater at that moment in the exchange. If the answer never changes, the scene is flat.
Step 3: Gather Procedural and Physical Detail
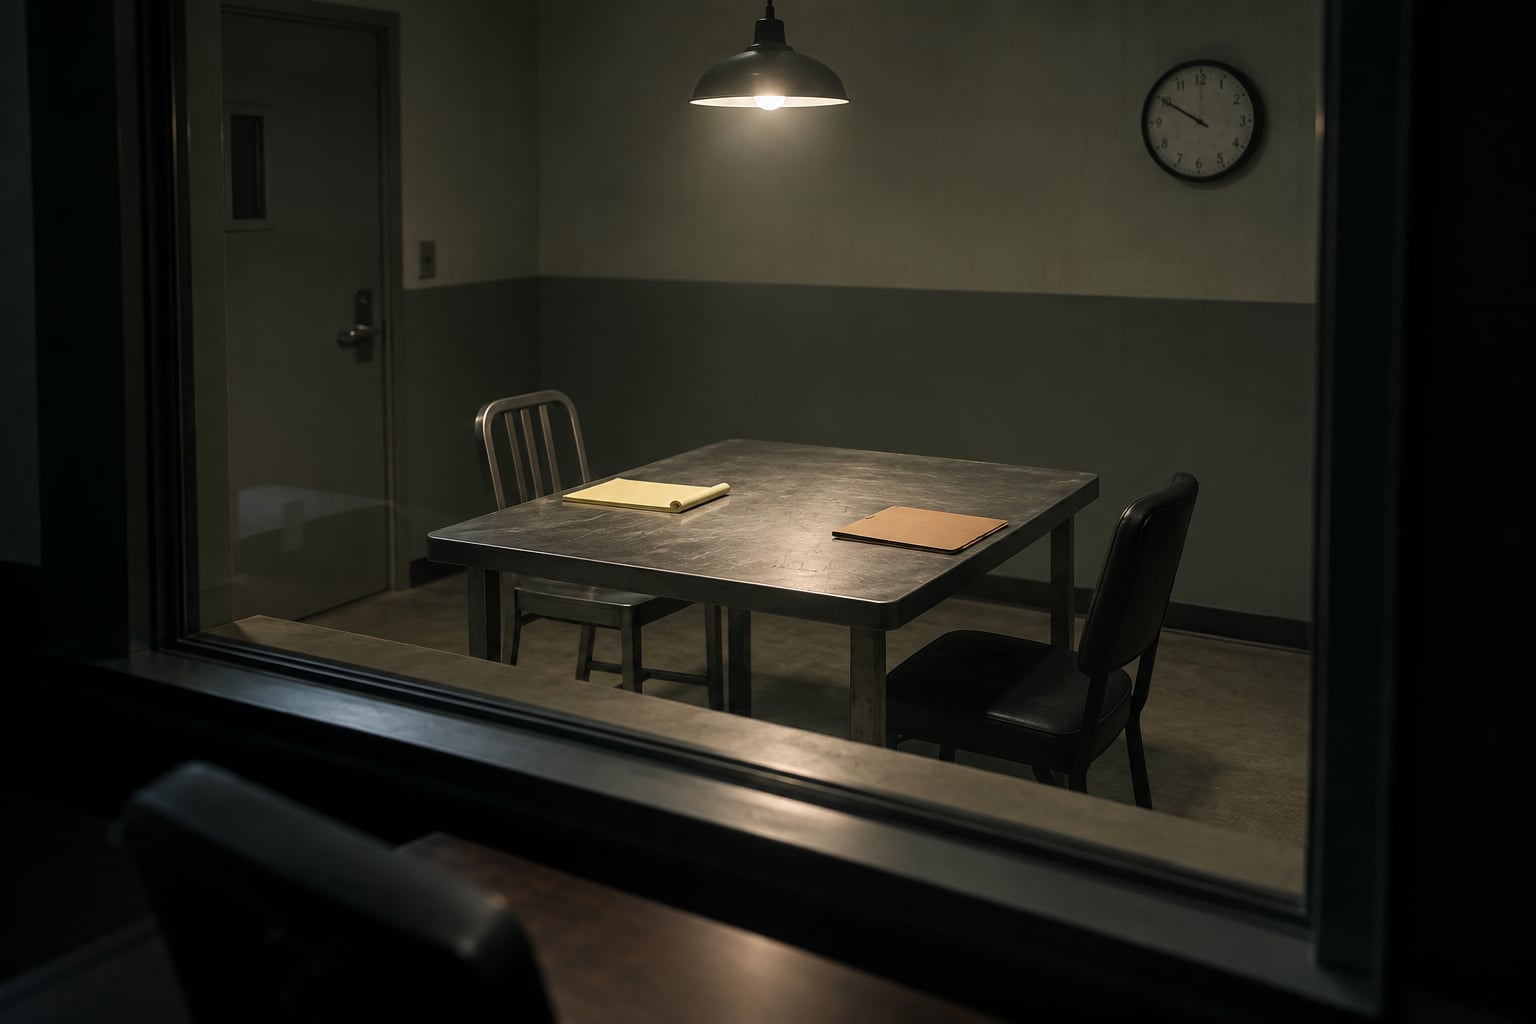
Use a small number of accurate details and let them carry weight. Room temperature. Whether the interview is being recorded and who else is behind the glass. When the suspect last ate or slept. Whether the detective’s pen is moving or has stopped.
Details work when they clarify the situation without stopping the scene to explain itself. One line about the recorder’s red light does more for atmosphere than a paragraph about how interview rooms are usually furnished.
It also helps to know what the techniques are called, even if the names never appear on the page. The Reid model runs roughly nine steps, from confrontation and theme development through handling denials to a written admission. Rapport-based methods, HUMINT collection, and cognitive interview all exist and all appear in real training. Good cop and bad cop is the oldest version, and the one readers will recognise fastest.
Two things are worth knowing before you borrow any of it. Coercive methods produce unreliable information, which is a fact you can use for tension when a detective overreaches. And training manuals are not a plot: a technique on the page only matters if it changes what the suspect does next.
Step 4: Give Each Character a Verbal Strategy
Distinct voices come from strategy, not from accent or tic. Decide what the interrogator does when a question fails: repeat it differently, offer sympathy, overstate certainty, or go quiet.
Do the same for the suspect. Evasion, deflection, bargaining, selective confession, and carefully chosen truths are all options, and a character should favour one or two.
You know it works when a reader could tell the two apart with the dialogue tags removed.
Step 5: Control the Flow of Information
Decide what the reader knows, what the detective knows, and what the suspect knows, and keep the three lists separate. Most flat scenes collapse because the narration fills the gap the characters still have.
Use admissions, denials, interruptions, repetitions and unanswered questions to withhold. An unanswered question repeated three pages later is worth more than a confession.
Check every new detail: is it earned, is it trackable, and does it connect back to the central mystery?
Step 6: Escalate With Stakes and Contradictions
Escalation means the scene’s meaning changes, not that the suspect gets louder. A credible contradiction, a new piece of evidence, a threatened consequence, or a moral choice all work. Fear alone does not.
A good test: find the line where the conversation could not return to its original shape. Everything before it is setup, everything after it is consequence.
Step 7: Write Dialogue With Subtext

Subtext means the characters say less than they mean. They answer the wrong question, repeat a phrase from earlier, or use professional language as armour.
Here is the weak version:
“I know what you did on Tuesday night,” said Detective Rourke. “You went to the warehouse at eleven o’clock. Don’t lie to me. We’ve got the security footage and the phone records, so there’s no point in pretending.”
“I wasn’t there,” said Danny. “I was at my sister’s place all night.”
“You were seen leaving the building at eleven forty,” said Rourke. “A neighbour saw you. Why would you lie to me? I can help you, but only if you tell me the truth.”
Everything is said out loud, including the case facts. Nothing is being traded. Compare:
Rourke turned the photograph around and slid it across. Eleven forty. A dark coat, the angle of a shoulder.
Danny looked at it for a long moment. Then he said, “That’s not me.”
“You said that already.”
“I say it because it’s true.” Rourke did not move the photograph back. “All right. Tell me about your sister.”
“Why?”
“Because you’ve answered everything else with a denial and nothing else. You haven’t answered that once.” He wrote the time on the pad. The recorder light stayed on. “Take your time.”
Danny looked at the photograph again. “She gets out at six. I bring her dinner.”
“So you were there.”
“I was there because I bring her dinner.” He did not look up. “That’s not the same thing.”
The second version still ends without a confession, which is a legitimate outcome. What changed: the detective gave up the open question and asked about the sister, and the suspect answered truthfully about the wrong thing. The reader gets the gap between the two accounts without anyone explaining it.
Step 8: Deliver a Strategic Reveal
A reveal works when it was set up but not predictable. Options include a partial confession, an exposed contradiction, a missing detail surfacing, a false suspect cleared, or a power reversal where the suspect has been running the room the whole time.
You know it landed if the reader can point back to the moment it was planted and still could not have predicted the exact form it took.
Step 9: Revise for Believability
Read the scene line by line for procedural plausibility, clear motives, distinct voices, continuity, and any moment where the detective explains something the suspect would already know.
Then read it aloud, and then read it from the suspect’s chair. Questions that would never be asked and reactions that would never happen stand out immediately at the third reading.
Finally, confirm the scene ends in a consequence or decision that belongs to the larger crime. An interrogation that changes nothing is a conversation that should have been cut.
Common Mistakes
These are the failures I see most often in drafts and in published crime fiction, with the fix for each.
1. Unrealistic authority. A detective threatens consequences no real interview would allow. Fix: give the leverage a source. Evidence, a charge already on the record, or a charge that exists only if the suspect talks.
2. The scene ends too easily. Three questions and the suspect folds. Fix: put the goal out of reach early. Each breakthrough should cost the detective something and produce a smaller prize than expected.
3. Generic dialogue. Everyone speaks in clean, balanced exchanges. Fix: give the suspect a real reason to be inarticulate, and let the detective interrupt, since that is what tired people do.
4. Sudden emotional collapse. Two sentences of weeping and a full confession. Fix: earn the breakdown with cumulative pressure. One crack is more convincing than a flood, and often produces a partial admission instead.
5. Unexplained evidence. A photograph appears with no source, then does the work of the turn. Fix: name where it came from and what it cost to get. “The neighbour who wouldn’t talk talked after three visits” is a better line than the photograph itself.
6. Excessive legal detail. Caution language repeated in full, jurisdiction explained, procedure debated. Fix: one accurate reference, then move. “He read the caution from a card” is usually enough.
7. Repetitive questioning. The same question restated twenty times. Fix: vary the attempt. Silence, sympathy, false certainty and a direct challenge all put different pressure on the same weakness.
8. The unearned reveal. The suspect volunteers the crucial fact at the end because the scene needs it. Fix: put the fact in the reader’s hands early, in a form the suspect thinks is safe.
One more worth naming, because it recurs in feedback threads: a villain monologuing while the suspect stays passive. If the antagonist is doing all the talking, give the suspect a counter-goal and let them win at least one exchange.
Frequently Asked Questions
Do I need to include rights and cautions to make an interrogation scene realistic?
No. Readers want one accurate signal that procedure happened, not a transcript. Naming that a caution was read from a card, or that a recording started, usually satisfies law-adjacent readers. Full Miranda language slows the scene and pulls attention to the legal system rather than the two people. If you want the reminder present, keep it to a clause and return to the conversation immediately.
Can a suspect realistically confess in a written interrogation scene?
Yes, but confession under pressure is rarer than fiction suggests, and false confessions are documented often enough that readers know it. A partial admission, a detail only the guilty party would know, or a story told to fit around a known fact usually satisfies a reader more than a full breakdown. A clean confession works best after a long scene where nothing else moved.
Should I use silence in an interrogation scene?
Silence is one of the cheapest and most effective tools you have, especially with a suspect who is filling space. It creates pressure without volume and gives the reader a beat to infer. Use it sparingly, since four silences in one scene stop meaning anything. One long pause after the detective stops talking is worth more than repeated hesitations in every line.
Can a detective lie to the suspect during an interrogation?
Fictionally, yes, and it is a useful device, but portray consequences. A detective who claims to have evidence they do not have may buy minutes, though it also puts a weapon in the suspect’s hands when the claim fails. Show the risk rather than the tactic alone. The most durable version is a detective who believes the lie, which is where the character work is.
How much legal procedure should I put in the scene?
Enough that no informed reader flinches, and no more. Two or three concrete anchors usually work: who is present, whether it is recorded, and what the suspect is charged with. Everything else can stay off the page and inform your choices silently. Check your jurisdiction or period against a source before drafting, since the rules differ widely and change.
How do I escalate an interrogation without it turning into melodrama?
Escalate with information, not volume. Introduce a contradiction the suspect cannot explain, change what is at stake by revealing a family member is now involved, or remove an option they were relying on. Melodrama comes from raising emotional temperature while the situation stays the same. If nothing has changed, nothing should be louder.
Conclusion
Start with two opposing objectives, one sentence each. Write the first exchange, then revise every reveal as a consequence of information, pressure or character choice rather than something that arrives on schedule.
Believable interrogation scenes come from conflicting goals, specific details and controlled ambiguity. The technique knowledge matters for credibility, but the scene lives or dies on whether the reader can see two people trading something they both need.