Recording an author interview remotely means capturing a conversation with a writer over the internet, with both of you recording your own voice locally on your own device and combining the two tracks afterwards in editing. The whole thing takes about 45 minutes to set up and 30 to 45 minutes to record, and doing it properly is mostly about preparation rather than gear.
Most first attempts go wrong in the same three places: the author’s audio is unusable, nobody agreed to be recorded, and the file vanished before it got backed up. Each of those is cheap to prevent.
Our editors run these conversations with writers based in other countries every month, and the workflow below is the one that keeps working. It assumes you want usable audio you can publish as a full interview, a few short clips, or the raw material for a written piece.
Table of Contents
- What You Need
- Recording settings to use, so you are not guessing later
- A pre-call brief you can paste into an email
- How to Record an Author Interview Remotely: Step-by-Step
- Step 1: Define the Interview Format and Goal
- Step 2: Prepare the Questions and Consent Plan
- Step 3: Test the Recording Setup
- Step 4: Send the Author a Simple Connection Plan
- Step 5: Conduct the Interview Without Losing the Story
- Step 6: Save and Verify the Recording Immediately
- Step 7: Edit and Publish the Interview
- Common Mistakes
- When something goes wrong mid-call
- Frequently Asked Questions
- What is the best way to record a remote author interview?
- Do I need permission to record and publish an author interview?
- Can I record an author interview on my phone?
- Should I use Zoom, Google Meet, or another video platform?
- How do I improve the audio if the author sounds quiet or distant?
- How should I back up and edit a remote interview recording?
- Conclusion
What You Need
You need far less than a studio. Here is the honest list, split into what matters and what is optional.
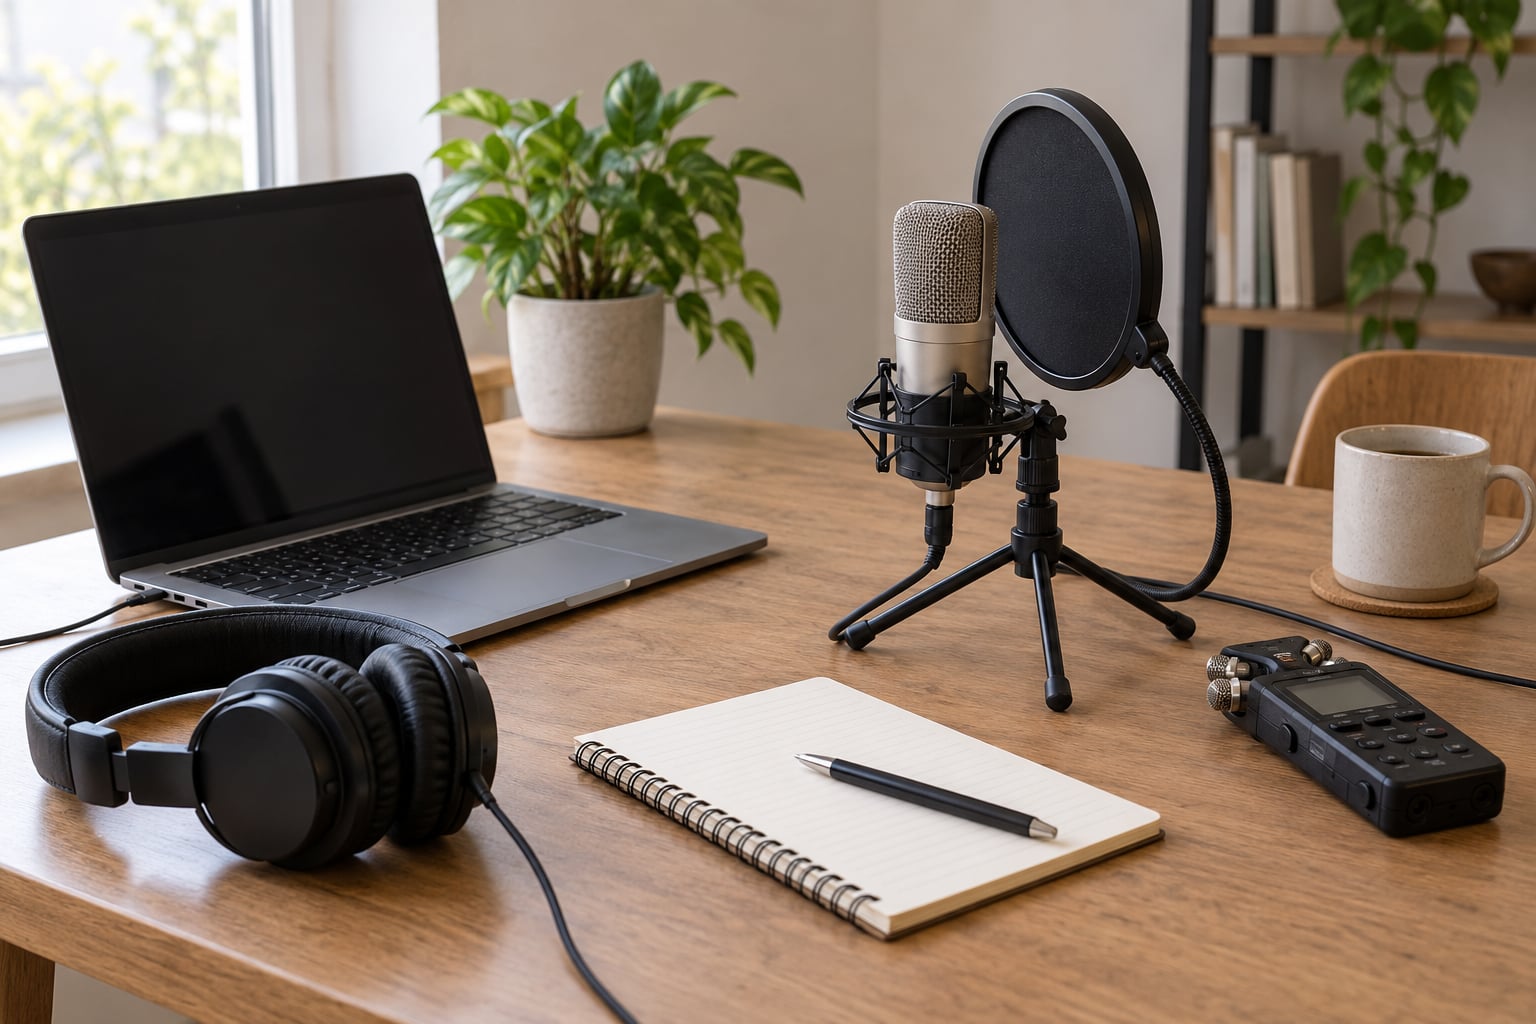
- A double-ender recorder. A tool where each person records a separate local audio file. Some run in the browser with nothing to install, which matters enormously when your guest is a novelist who does not want to create an account.
- Wired headphones. Every set. They are the only reliable cure for echo, and they stop the author’s voice leaking into your microphone and back at them.
- A microphone. A USB microphone is fine for a home setup. If you already own a dynamic microphone and an audio interface, use it. A dynamic mic with a decent pop filter handles a normal room better than a condenser that picks up every car outside.
- A pop filter or windscreen. Plosives on the letter P are the most common flaw in guest audio, and a filter fixes it for a few pounds.
- A quiet room with soft surfaces. Bedrooms beat living rooms. Wardrobes full of clothes, a curtain, and a rug do more than any microphone does. A walk-in closet is a genuine trick that works.
- An audio editor. Audacity is free and does everything you need, including synchronising two tracks. GarageBand on a Mac, or Reaper if you want to go deeper, are also common choices.
- Two places to store the file. Local drive plus cloud. This is not optional.
- Written consent. At minimum an email saying you would like to record the call and publish it, and what you plan to do with it.
Recording settings to use, so you are not guessing later
- Sample rate 48kHz, bit depth 24-bit, WAV format.
- Mono per voice. Stereo for a spoken conversation buys nothing.
- Peaks landing between roughly -6 and -12dB on the meter.
- Record 30 seconds of room tone at the start and the end, with both people silent.
- Call the take out loud at the top of every file, so you can identify it by ear months later.
A pre-call brief you can paste into an email
Send this about 48 hours ahead, adjusted to your project. Authors who travel appreciate it, and it is where you find out about a noisy train hotel room before the call rather than after.
Hi [Name], I’m looking forward to talking on [date] at [time, your time zone]. A few practical things so the audio is usable:
We’ll be on [platform] — I’ll send the link about ten minutes before, and you can join from a browser without installing anything.
Wired headphones, please, and somewhere quiet if you can manage it. No need to buy anything; a phone with earbuds works in a pinch.
I’ll be recording my side locally, and I’d like to record yours too, so you only need to click “Start recording” when you join. We’ll be recording for [publication / newsletter / show] and I’d like to publish the full conversation plus a few short clips on social. Shout if there’s anything off-limits.
About [length] minutes. We’ll cover [two or three themes], and I’ll have the questions ready — nothing you need to prepare, but send anything you’d like me to avoid.
Recording now on my side so I can check levels before we start.
How to Record an Author Interview Remotely: Step-by-Step
Step 1: Define the Interview Format and Goal
Decide what this recording is for before you touch any equipment, because the format dictates everything after it. A twenty-minute clip for a newsletter, a forty-minute full interview, and a two-hour tape you will mine for quotes are three different jobs.
Write down three things: how long, what it becomes afterwards, and who decides. If a publicist is on the call, ask early whether there is a publisher embargo on the book and whether review copies are allowed to be quoted from. You will not want to discover an embargo the week you publish.
You will know step one worked when you can answer “what happens to this file” without hesitating.
Step 2: Prepare the Questions and Consent Plan
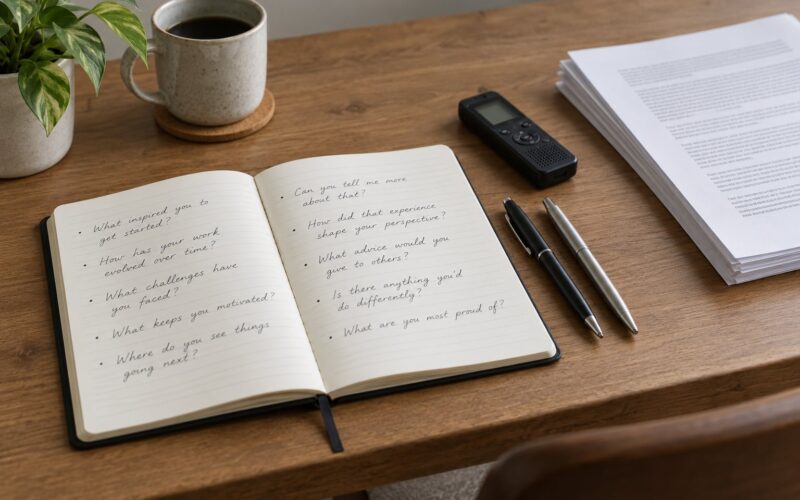
Build a question list with room to move. Most interviewers write twenty rigid questions; write twelve, and treat those twelve as a spine rather than a script. Good interviews go somewhere unexpected, and a rigid list is what forces a writer back onto rehearsed publicity lines.
What you share in advance is a narrower question than the questions themselves. Send themes and rough areas so the author can prepare mentally. Do not send the exact wording, because you will get prepared answers rather than conversation. Experienced hosts say this the same way every time and they are right.
Get consent in writing before you record. Say plainly that you are recording, that you plan to publish the interview, and that you may cut short clips for social. Ask about anything sensitive in advance — a divorce, a rival, a book they hated. A one-line reply from the author or their publicist is enough, and it protects you and them.
If you want a signed document rather than an email, a guest release form typically covers the recording itself, where the interview and clips can be published, how long rights last, whether the author can withdraw and up to when, and who owns the final edit. Keep it simple and send it early, ideally with the invitation, so signing is not the reason someone declines.
Step 3: Test the Recording Setup
Run a real check about five minutes before the author joins, on the same device and in the same spot you will use. Change nothing afterwards, because a moved microphone is a new test.
Work through this list:
- Speak and watch the level meter. Peaks should sit around -6 to -12dB with a little headroom. Yellow that stays red means turn down the gain.
- Put on headphones and tap the microphone. No echo through your ears means the room is behaving.
- Record ten seconds of ordinary speech and ten seconds of silence, then play both back. The silence tells you what you are really dealing with.
- Test the headphones on your end and confirm the author is on headphones too, by asking them to describe what they can hear.
- Check the internet is stable, and that the call quality holds with video on. If it wobbles, turn video off for the call and audio will usually settle.
- Confirm the recording destination has space, and that you know exactly where the file will land.
You have tested it properly when you can point at a folder and say the file will be there when you hang up.
Step 4: Send the Author a Simple Connection Plan
Join about ten minutes early yourself and stay in the waiting room until the author is in. Send the link in the chat window of the platform rather than by email, because links buried in email get read as spam and this is the single most common reason a call does not start.
Then walk them through it in two sentences: click the link, allow microphone access, put on headphones, click start recording. When they say they can see their own name and a green level meter, you are ready. When somebody does not know where their mute button is, expect the first five minutes to be button-hunting, and just talk through it.
Every forum thread on remote interviewing says the same thing: the guest not having to install anything is what decides whether this works. On r/podcast the recurring question is literally how to turn a call into an audio file, and the answer is always a browser-based recorder that a non-technical guest can join by link.
Step 5: Conduct the Interview Without Losing the Story
Start recording, then ask both of you to stay silent for 30 seconds and capture room tone. It sounds strange the first time and it gives you a clean sample of each room’s noise floor, which makes editing the gaps later painless.
Check levels again at about five to seven minutes, then leave them alone for the rest of the call. Do not fiddle with the author’s side remotely; you cannot hear their room properly and you will do more harm than good.
Keep headphones on through the whole conversation, even when it is one person. The moment you take them off to stretch your legs is usually the moment the call drops and you lose thirty seconds.
Interviewing well is mostly listening. After an answer, count to two before you speak. Writers often add the real sentence at the end of an answer, and filling that silence with your next question loses it. If latency makes conversation awkward, say so out loud at the start — telling the author that there is a half-second delay and it is not their connection removes the tension immediately.
Ask one thing at a time. And do not stop recording when the interview is over. Stay live, let the author say their goodbyes properly, hang up, then stop your recording. Authors often add a final thought as they are leaving, and that is often the line you use.
Step 6: Save and Verify the Recording Immediately
Do not trust the file until you have played it. Within five minutes of hanging up, while it is fresh, do all of this:
- Stop the recording and let the file finish writing.
- Open it and play the first thirty seconds, the middle, and the last thirty seconds.
- Listen with headphones and check the author’s voice is present, clear and not clipping.
- Copy the file to a second location — cloud storage or a separate drive. Two copies minimum.
- Rename it something sortable: Lastname_Firstname_YYYY-MM-DD_Take1.wav.
- Drop a copy of the consent email into the same folder.
- Only then delete temporary files, and never before step three.
Producers on the talent-manager forum describe exactly this routine: the recorder runs, the call runs on a separate machine, and the audio is confirmed before anything else happens. It takes four minutes and it has saved a lot of people a re-record.
Step 7: Edit and Publish the Interview
Two local tracks give you real freedom. Drop both files into your editor, align them using the waveform and the sync tool, and listen for a place where both voices say something and use that as the reference point. Then mute one track and check you are not chopping words.
Work in this order, and resist doing it any other way:
- Remove long silences and false starts, using your room tone to fill the gaps.
- Apply a high-pass filter around 80Hz to clear rumble, then light noise reduction on the steady background hum. Go gently. Heavy noise reduction is audibly worse than the noise.
- Level both voices to match. Authors are often quieter than interviewers; this is the single most visible quality issue.
- Apply gentle compression so both voices sit at a similar level.
- Check every quote you plan to publish against the audio. Misquoted authors is the fastest way to lose a publicist.
- Export a master WAV or high-quality MP3, and get the author or publicist to approve the edit if your agreement promised it.
Then turn one recording into several things: three or four short clips for social, a transcript for search and accessibility, pull quotes as images, and notes for your written piece. That is where the effort pays back, and it is why the raw file is worth keeping even after publication.
Common Mistakes
These are the failures that come up again and again, and each has a small fix.
- Recording on the built-in call recorder. It puts both voices on one compressed track, which is close to uneditable. Use local tracks instead. People on r/podcasting describe this as the reason they moved off built-in call recording entirely.
- Skipping the test. A five-minute check is the most repeated recommendation across every remote-recording guide we looked at, and the most commonly ignored.
- No written consent. Getting permission is both a legal requirement in many places and simply decent manners. Ask before you record, not after.
- No headphones. Open speakers on a call create echo and, worse, the guest ends up cancelling. Always headphones.
- Letting the author pick the quiet room for you. An air conditioner or a street can sink an interview. Ask about their room in the pre-call brief and offer a fallback.
- Sending all the questions in advance. You get scripted answers and a flat conversation. Send themes, not wording.
- One backup, or none. Two copies, in two places, verified by playing the file. This is not negotiable.
- Editing before verifying. If you start cutting before confirming both tracks are good, you may discover a muted guest after an hour of work. Verify first.
- Stopping the recording too early. The last thing an author says is often the best line. Keep recording until after the call ends.
- Forgetting the embargo. Publisher dates and review-copy rules are real. Ask the publicist at scheduling, not at publication.
When something goes wrong mid-call
- Echo or hollow sound: speakerphone, or headphones off. Everyone goes back on headphones.
- The author sounds quiet or distant: check they are not still on their laptop microphone. If they are, ask them to move the laptop closer rather than turning your gain up.
- Background noise: turn off anything you control, and in editing apply noise reduction. If it is a constant hum or air conditioner, gate it lightly between sentences.
- The call drops or freezes: switch to audio only, and if it keeps happening, move the recording to a phone call and keep recording locally on your side.
- The author’s level clips when they speak: they are too close to the mic or the gain is too high. Ask them to move back an arm’s length.
- Nobody can find the record button: stop, share your screen, and walk through it once. Every host has done this.
- Latency makes conversation clunky: name it, lower the stakes in the first few minutes, and avoid fast back-and-forth question sequences.
Frequently Asked Questions
What is the best way to record a remote author interview?
Use the double-ender method: you and the author each record a separate local high-quality file at the same moment on your own equipment, then combine the two tracks in editing. A video call alone is not enough, because its built-in recording mixes both voices onto one compressed track that is very hard to edit. Local tracks survive a bad internet connection, which a call recording does not.
Do I need permission to record and publish an author interview?
Yes. Ask before you record, and get the answer in writing, whether by email or a guest release form. Say what you are recording, where the interview and any short clips will appear, and how long you plan to keep the files. Ask about sensitive subjects in advance too. Consent protects both of you and costs one short message.
Can I record an author interview on my phone?
You can, and plenty of published interviews were made that way. Keep the phone about an arm’s length away, use a quiet room, and put it in airplane mode once the call is connected so notifications do not interrupt the recording. Phone audio is workable for an interview you will edit. It is a poor choice for anything with music or ambience, and headwind and handling noise are hard to remove.
Should I use Zoom, Google Meet, or another video platform?
Any of them works for the conversation itself. What matters is whether the platform records a separate local file per participant, or whether you use a browser-based recorder alongside the call. If your connection is unstable, turn video off and record audio only. If the author will not install anything, choose a tool that works from a link in the browser.
How do I improve the audio if the author sounds quiet or distant?
First check they are on a headset or laptop microphone rather than a separate mic, because turning up your own gain only amplifies your room. If they are on the laptop, ask them to sit closer to it. In editing, raise their track until both voices match, then apply light compression. Noise reduction helps with hum, but heavy use sounds worse than the noise it removes.
How should I back up and edit a remote interview recording?
Within five minutes of hanging up, play the file from start to finish, then copy it to a second location such as cloud storage, and rename it with the author’s name, the date and the take number. Keep the consent email in the same folder. When editing, sync the two local tracks by waveform, cut silences, add room tone, level both voices to match, and check every quote before publishing.
Conclusion
Start with the format, not the microphone. Decide how long the interview is and what becomes of it, get written consent from the author before anything is recorded, send the pre-call brief with the platform link two days ahead, and run a five-minute check with the levels and the room noise on your own side.
Record locally on both ends, capture 30 seconds of room tone, and do not stop recording until after you have hung up. Then play the file, copy it somewhere else, and only start editing once you know you have a usable copy. That sequence is the whole job.